Overview
This SOP covers the full initial configuration required when setting up a new seller on Vivenu. Work through each section in order before making the seller live.Prerequisites
- Vivenu access for the relevant seller
- Logo file ready to upload
- Hub number and hub code confirmed (e.g.
us-cafor US — California) - Entity registered address and T&Cs obtained from Jamie Taylor
Settings → Information
Check the seller name
Verify the seller name follows the correct naming convention:Where
# is the hub number (e.g. F.A.T. Karting League Hub 1).Check the address
Verify the address is correct against the registered address for the entity.
If you are unsure of the correct registered address, contact Jamie Taylor at jamie.taylor@smedleygroup.com.
Settings → Display
Settings → Communication → General
Enable send reminders
Enable Send reminders and activate the following options:
- After ticket booking → within 24 hours of ticket booking
- Before event start → 30 days before event start
- Before event start → 14 days before event start
- Before event start → 7 days before event start
- Before event start → 2 days before event start
- Before event start → On event’s day
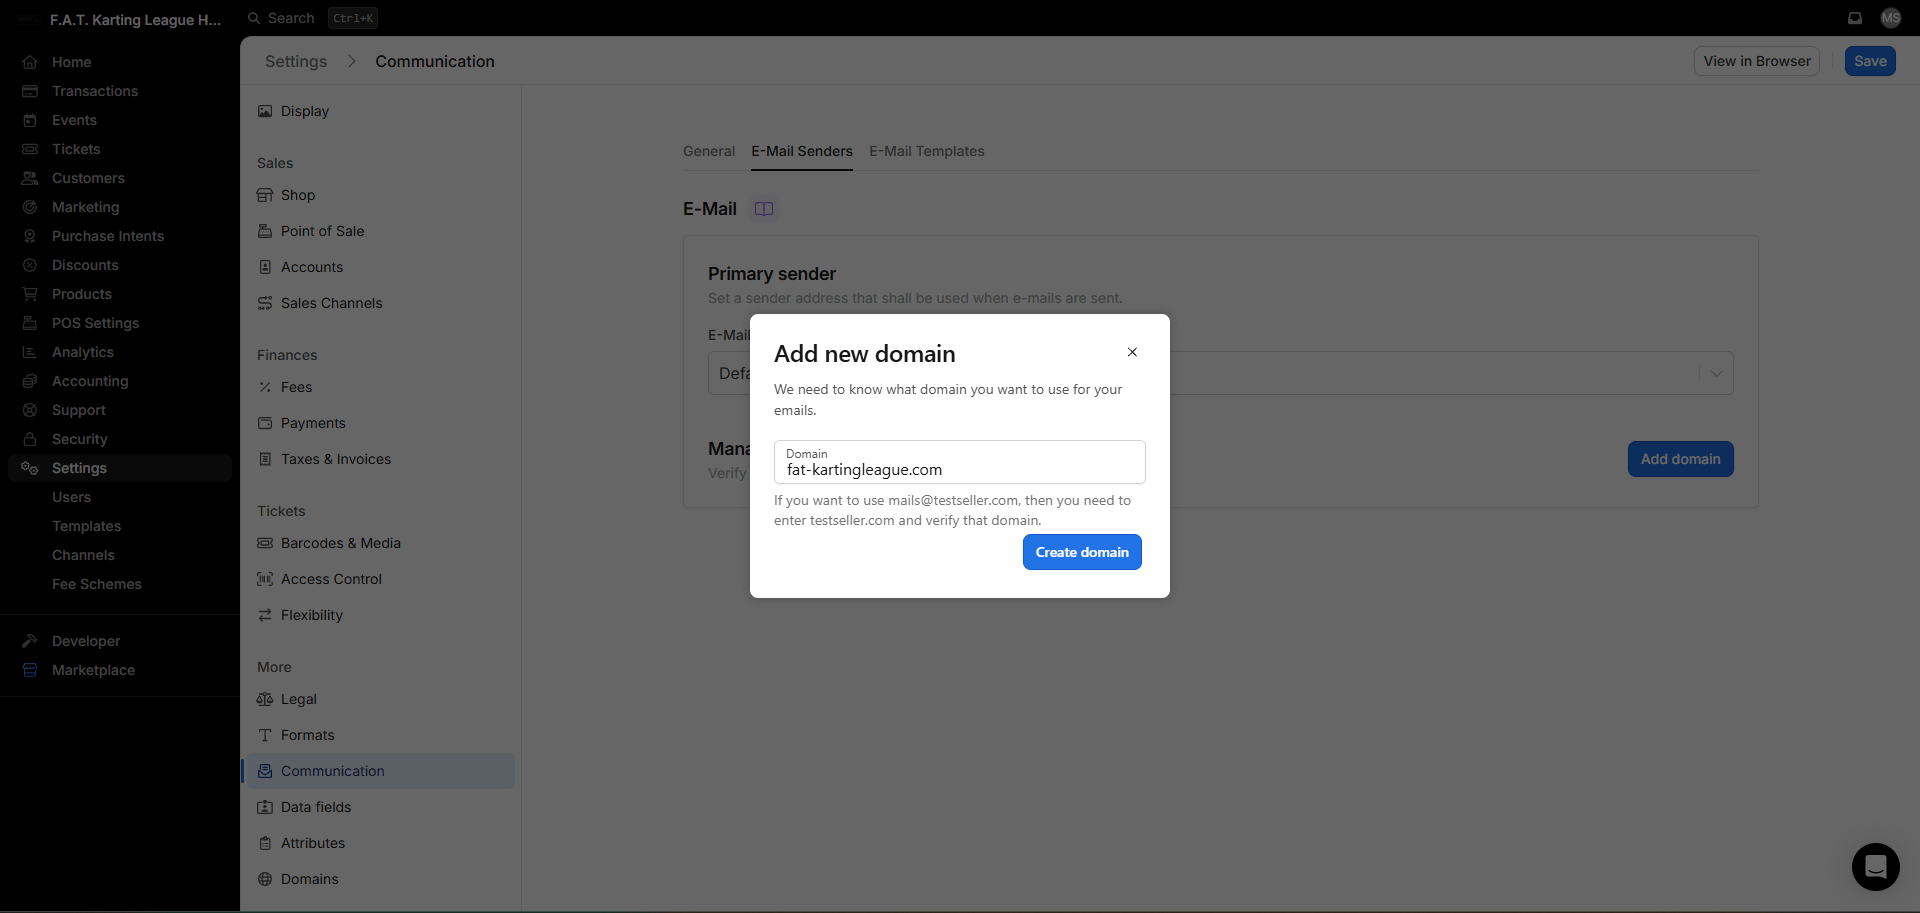
Settings → Communication → Email Senders
Settings → Legal
Set cancellation policy
Under In Case of Significant Changes, Postponement or Cancellation of the Event, enable No Right of Cancellation.
Enter own terms
Under Own Terms, enter the T&Cs for your hub. Contact Jamie Taylor to obtain the correct T&Cs for your hub.
Settings → Taxes & Invoices
Set tax details
Set the following fields to the correct details for your hub:
- Tax Rate
- Tax ID
- Tax Name